About the author
Victoria Lo is a full-stack web/software developer from Markham, Ontario, Canada. In addition to software development, she teaches various development techniques to engineers worldwide in over 100 published technical guides reaching over 50,000 readers a month. Her work has been featured in The Startup, Level Up Coding, Better Programming, and JavaScript in Plain English.
Be sure to follow Victoria on her website, GitHub, and Twitter.

Some apps allow users to upload images and files, read them, delete them and even download them whenever users want. Such functionality can be useful for social media platforms, blogging platforms or storage services. Firebase Cloud Storage offers a solution to store user-generated content easily.
In this article, we’ll be discussing Firebase Cloud Storage and how we can implement it to upload, retrieve and store user files securely.
What is Firebase Cloud Storage?
Firebase Cloud Storage is a service that developers can use to store and download files generated directly by clients. No server-side code is needed.
It uses Google Cloud Storage buckets to store the files, allowing accessibility from both Google Cloud and Firebase. These buckets are formed within a hierarchical structure. For example: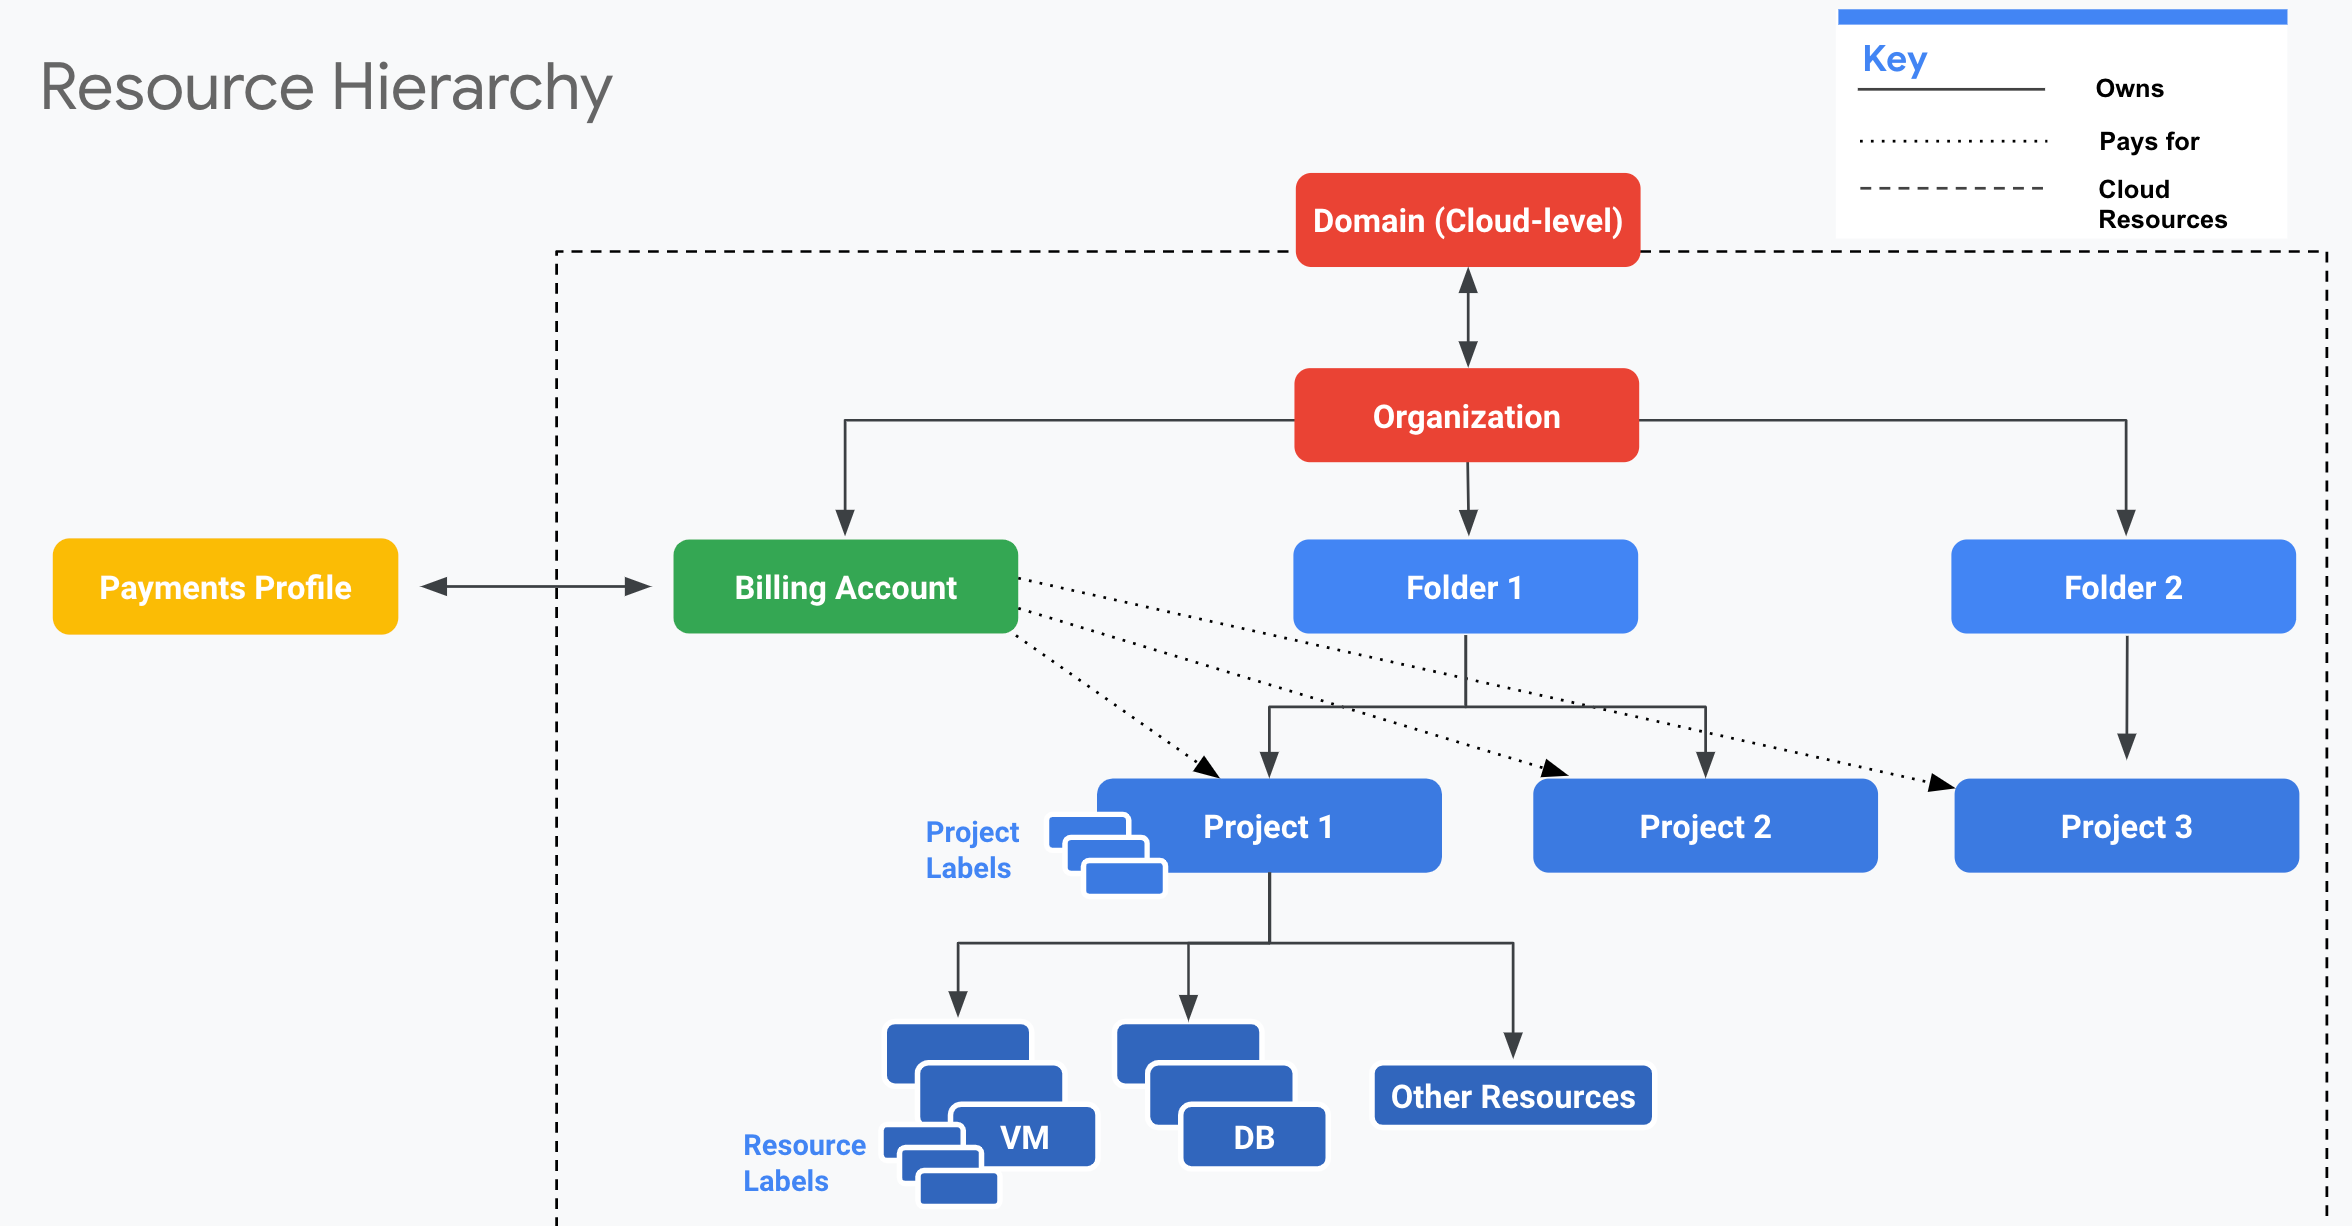
What I really like about Firebase Cloud Storage is how seamless it integrates with Firebase Authentication so you can organize uploaded files based on each user and apply access controls if needed.
Also, it scales automatically so there’s no worry about moving to another provider when stored data gets too large.
Now that we know what Firebase Storage can do, let’s try using it in our project. For this tutorial, I’m making a simple photo album app that allows users to upload, view and delete images.
Step 1: Create a new Firebase Project
Head over to firebase.google.com and create a new project.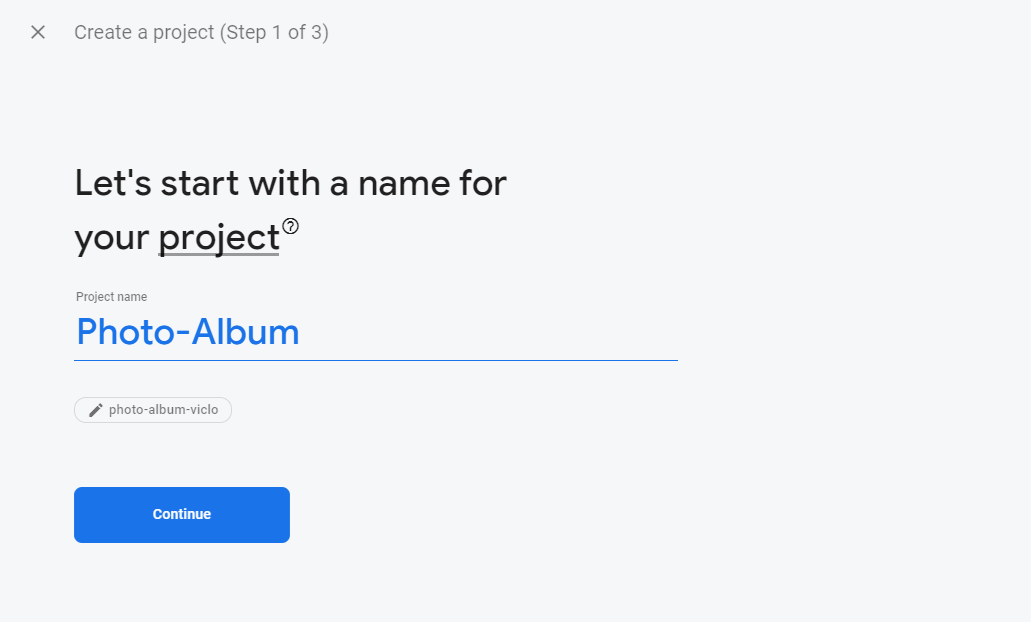
On the dashboard, click on the Web icon to initialize Firebase for Web Apps.
Follow the steps by Firebase and you’ll reach a page that shows your config variables (see image below). This is
important, so copy and save it somewhere. We will use it soon.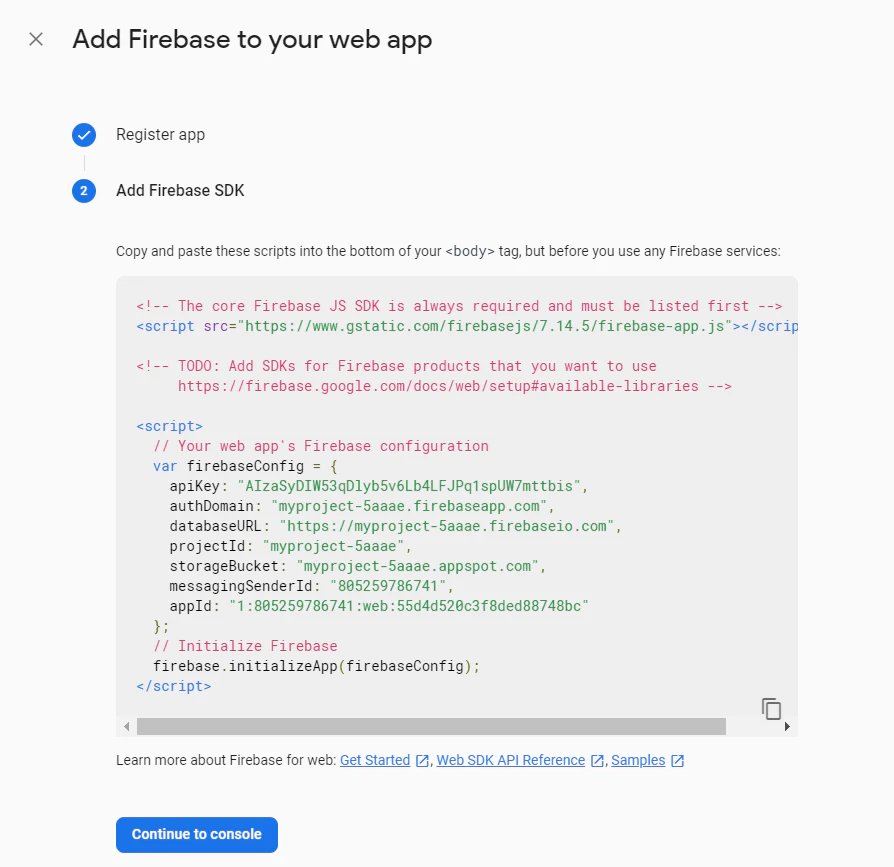
Next, head over to the Storage tab and click on the ‘Get Started’ button.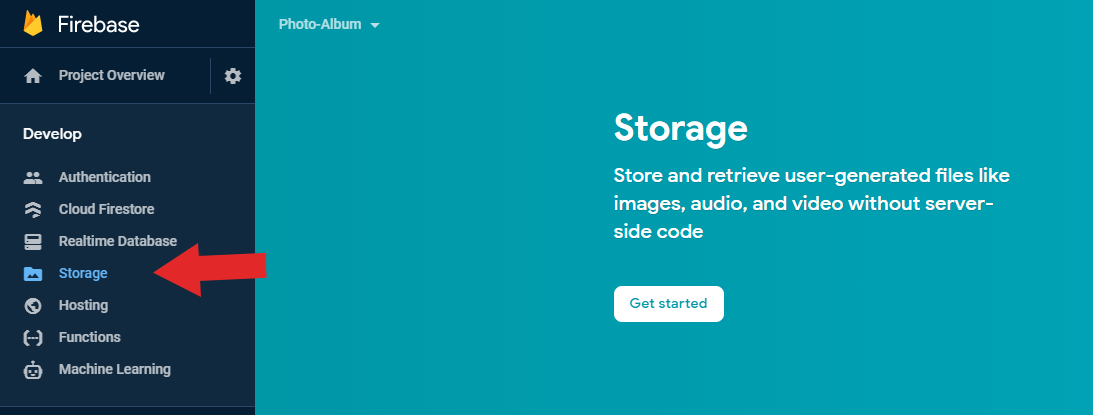
You’ll see a pop-up window that asks if you are okay with some settings. Replace the request.auth !=null to true. This ensures we are allowed to upload files to Firebase without needing authentication for the simplicity of this tutorial.
Click ‘Next’ to proceed.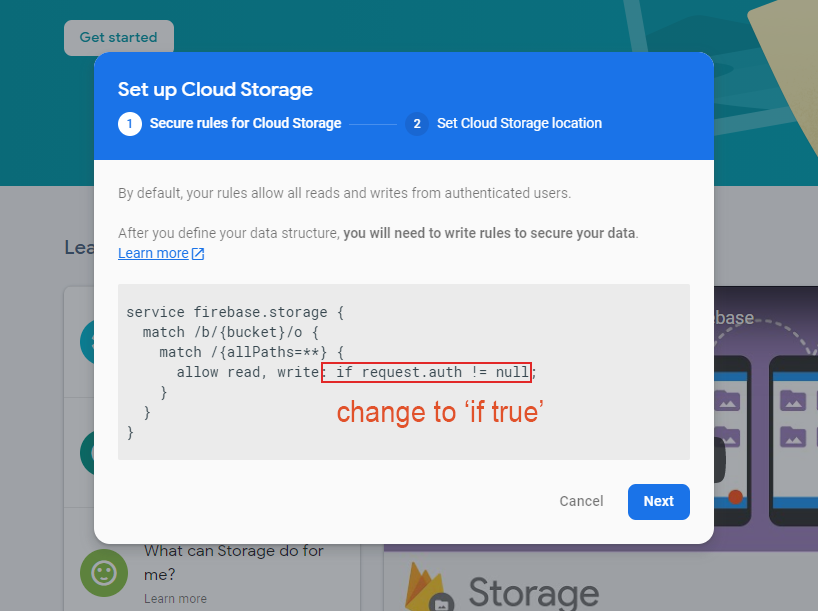
And there you go! Firebase Cloud Storage is now enabled. Let’s integrate it into our app.
Step 3: Create a React App
For this example, we’re using a React project template, though any frontend framework can be used.
To create a React project, simply run:
npx create-react-app <app-name>
Once the project is created, run:
npm install firebase
This is a package that contains the necessary tools and infrastructure we need to set up Firebase in the app.
Step 3: config.js
Create a file called config.js to store the Firebase config variables that we copied earlier.
The config.js will look like:
import firebase from "firebase/app";
import "firebase/storage";

const app = firebase.initializeApp({
  apiKey: process.env.REACT_APP_API_KEY,
  authDomain: process.env.REACT_APP_AUTH_DOMAIN,
  databaseURL: process.env.REACT_APP_DATABASE_URL,
  projectId: process.env.REACT_APP_PROJECT_ID,
  storageBucket: process.env.REACT_APP_STORAGE_BUCKET,
  messagingSenderId: process.env.REACT_APP_MESSAGING_SENDER_ID,
});

// Get a reference to the storage service, export it for use
export const storage = firebase.storage();

export default app;
Note that here the actual values are stored in an .env file and accessed as process.env.VARIABLE_NAME.
If you are new to working with environment variables, here’s a great article explaining how to use them by Maxime Preaux (Senior Frontend Developer @ Boundless Immigration.
Step 4: Uploading Files to Storage
In App.js, import the storage reference that we exported from our config.js file.
import {storage} from "./config";
In order to upload files, we need to have an input field for the user. Create an input element with the following:
<input type="file" accept="image/x-png,image/jpeg" />
By specifying the type to file, the input field will be a file picker.
For this example, we only accept files that are .png or .jpeg. We can specify this requirement in the accept attribute.
Now add a button that will upload our image to Firebase when clicked.
<button>Upload to Firebase</button>
The UI should look something simple like: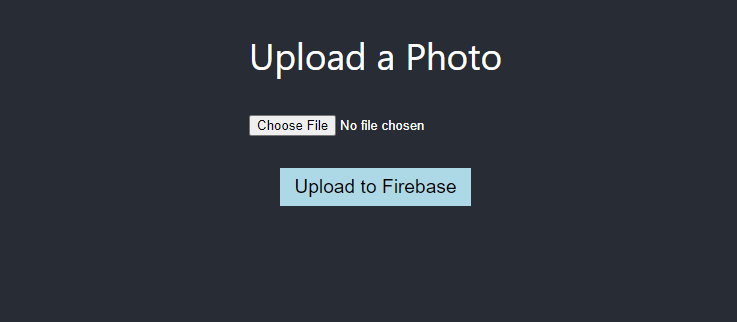
Step 5: Create Image state
To track whether a user has supplied a file in the input, we should have an image state. First, import the
useState hook.
import React, { useState } from "react";
And initialize the state to null:
const [image, setImage] = useState(null);
Step 6: onImageChange
Next, create an onImageChange function which will update the image state every time the user supplied a new file to the input field.
const onImageChange = (e) => {
    const reader = new FileReader();
    let file = e.target.files[0]; // get the supplied file
    // if there is a file, set image to that file
    if (file) {
      reader.onload = () => {
        if (reader.readyState === 2) {
          console.log(file);
          setImage(file);
        }
      };
      reader.readAsDataURL(e.target.files[0]);
    // if there is no file, set image back to null
    } else {
      setImage(null);
    }
  };
Then, pass this function into the onChange handler of our input element.
<input type="file" accept="image/x-png,image/jpeg" onChange={(e) => {onImageChange(e); }}/>
Step 7: uploadToFirebase
Then create an uploadToFirebase function for the button so that the image will be uploaded to Firebase when the
button is clicked.
This is how the function can be implemented:
- Check if the
imagestate isnull. If it is, ask the user to supply a file first. - If
imageis a file, create a root reference to our storage. - Then we create a child reference to store our file. The reference can be named by the image’s
nameproperty. - Finally, use
put(image)to store our file in the reference. - Then have a callback function to let the user know that the file has been uploaded to Firebase successfully.
Here’s the implementation in code:
  const uploadToFirebase = () => {
    //1.
    if (image) {
      //2.
      const storageRef = storage.ref();
      //3.
      const imageRef = storageRef.child(image.name);
      //4.
      imageRef.put(image)
     //5.
     .then(() => {
        alert("Image uploaded successfully to Firebase.");
    });
    } else {
      alert("Please upload an image first.");
    }
  };
That should do it!
The in-app flow should look like this: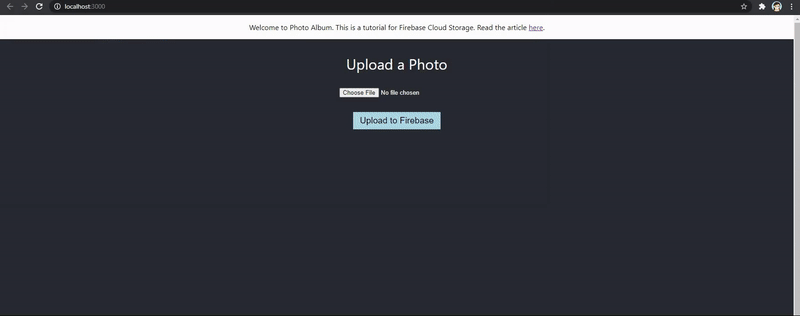
Be sure to follow Victoria on her website, GitHub, and Twitter for more great development guides and resources.
Also be sure to check out Setting Up Firebase in an iOS App